How to Craft Pet Ears with Wool Felt
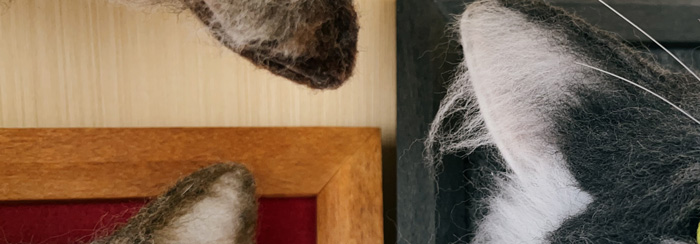
This post we're focusing on creating realistic pet ears using pure wool felt. This method yields soft, elastic ears that closely mimic the texture of real animal ears.

Materials:
Wool rovingFelting needles
Foam pad
Warm water
Towel
Step 1: Shaping the Base
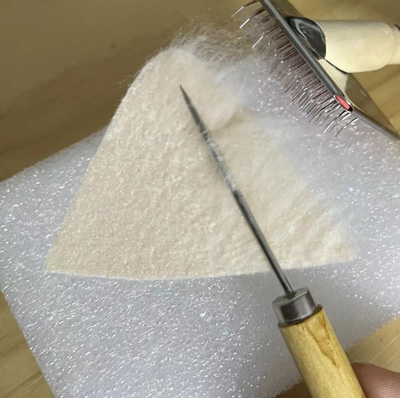
First, grab a handful of wool roving - about the size of your palm. Start needle felting it into a flat, even shape. Don't go too crazy here; we just want it lightly felted. Once you've got a nice, even piece, fold it into a triangle shape. Try to keep the thickness consistent throughout.
The triangle shape will give your ears that perfect pointed look!
Step 2: Wet Felting
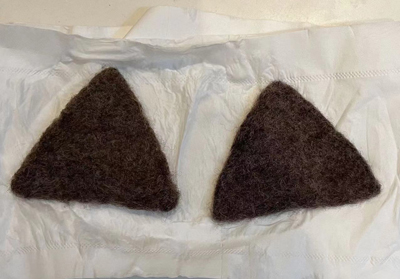
Here's where things get interesting! Take your triangular felt piece and dunk it in some warm water. Let it soak for a minute or two. Now, gently rub the surface of the felt. This process, known as wet felting, will make the fibers bind together even more, creating a denser, more elastic texture.Once you're done rubbing, carefully squeeze out the excess water and place the ear on a dry towel or some paper towels. Let it air dry completely.

Why Wet Felt?
This technique enhances the felting process, resulting in a softer, more elastic texture that closely resembles real animal ears. It also improves durability and reduces shedding.While there are other methods for creating pet ears, such as using polymer clay, this wool felting technique offers a uniquely lifelike result. We'll explore alternative methods in future posts.


